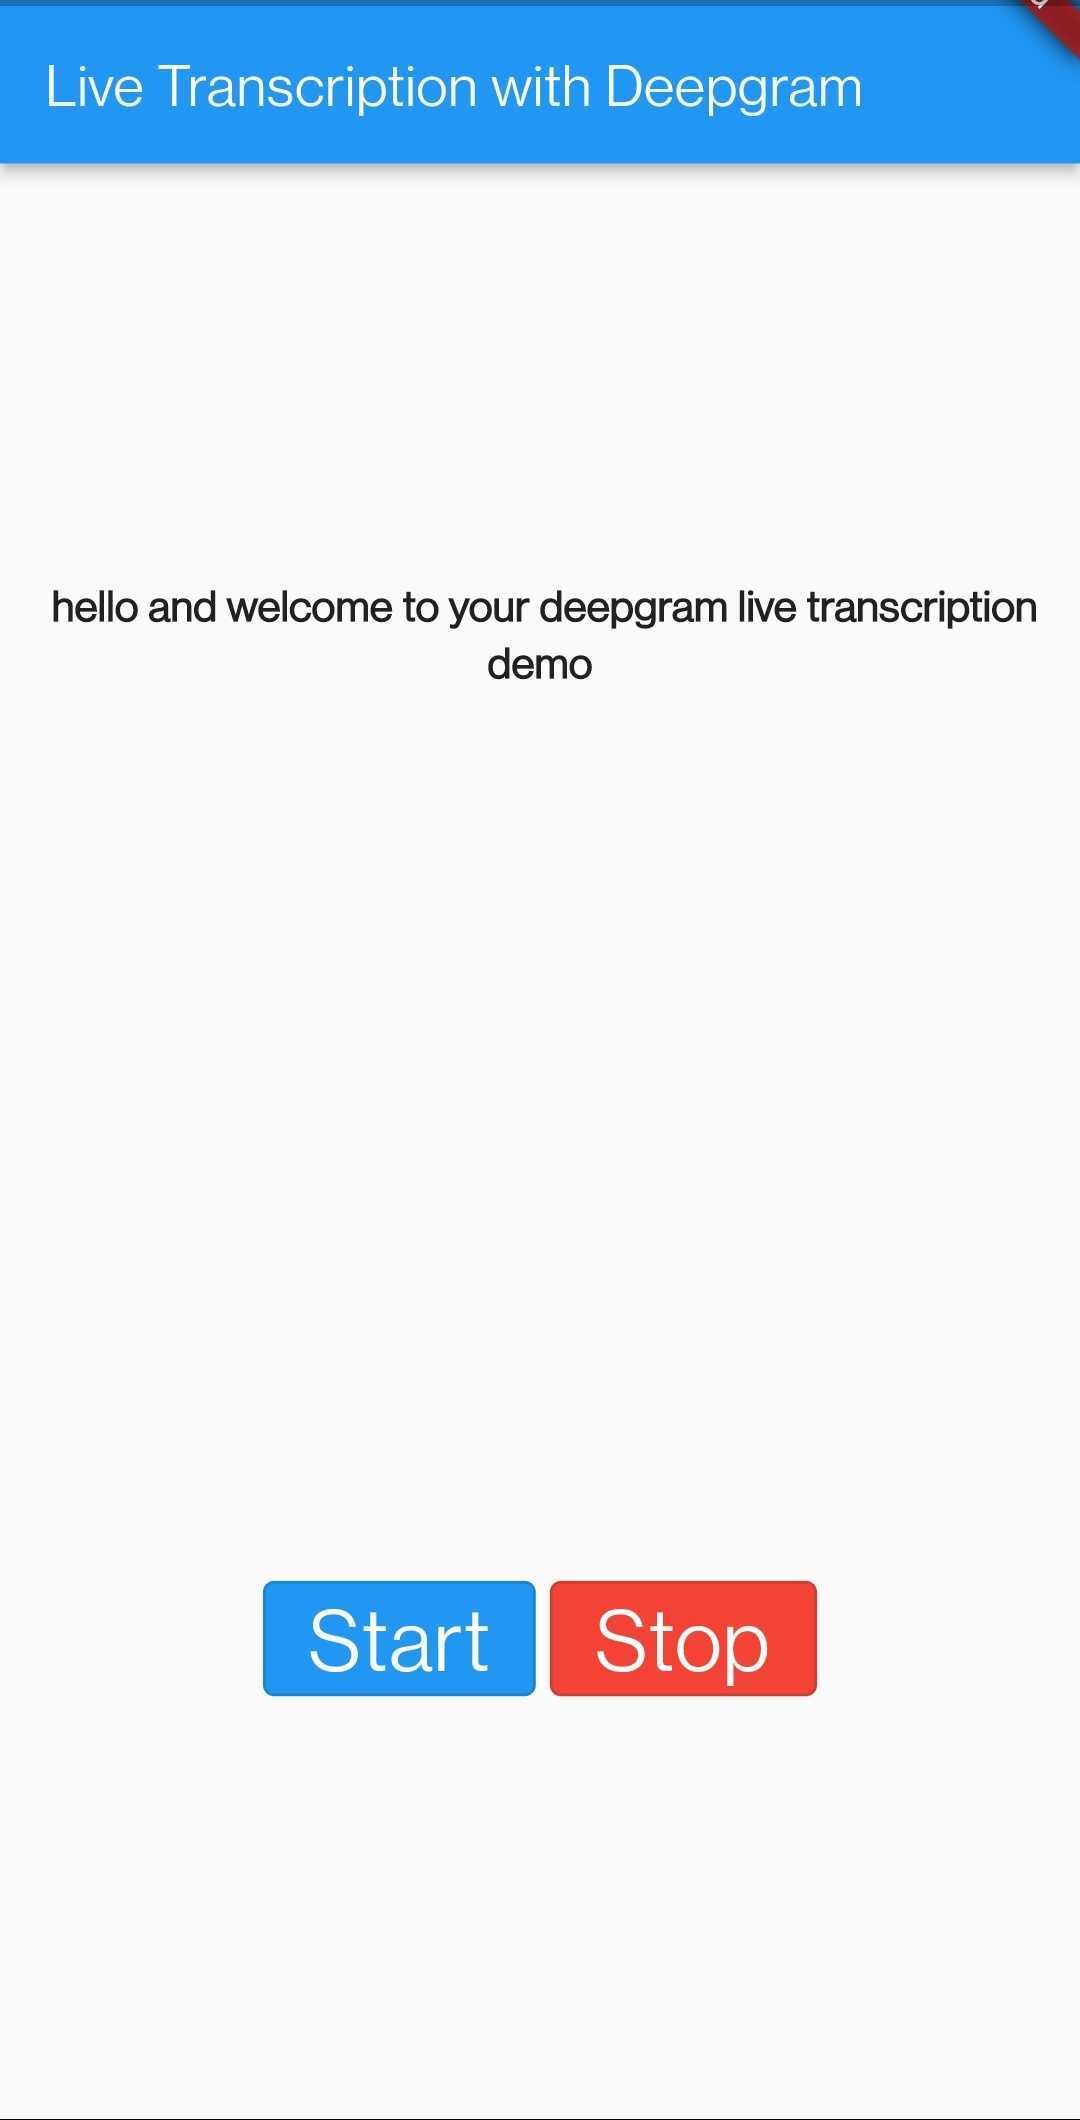
In this tutorial, you'll learn how to transcribe your message in real-time from your device's microphone using Deepgram's Speech Recognition API. The audio will be converted into data and live-streamed over WebSocket to Deepgram's servers, and then once transcribed, returned in JSON format back through the WebSocket.
Before We Start
You will need a Deepgram API Key for this project - get one here.
Next, head over to Flutter's documentation with instructions on installing Flutter onto your machine.
Create a Flutter Application
Depending on which IDE you're using to develop your Flutter application, you'll need to configure it a little to be able to create a new Flutter project. So follow the instructions for your IDE on the Flutter documentation page, Set up an editor.
Add Device Specific Permissions
Android
For your application to perform certain tasks on Android, you need to request permissions for these, such as accessing the internet or recording audio, so open the file android/app/src/main/AndroidManifest.xml and inside the <manifest ..., add the following lines:
<uses-permission android:name="android.permission.INTERNET"/>
<uses-permission android:name="android.permission.RECORD_AUDIO"/>
While you're in the Android directory, you'll need to change what versions you're defining for the SDK and what version you're targeting to compile. This change meets the requirements of the third-party package you'll install later. Open the file: android/app/src/build.gradle and first fine the line: compileSdkVersion flutter.compileSdkVersion. Replace this line with compileSdkVersion 32.
Next, find the following two lines:
minSdkVersion flutter.minSdkVersion
targetSdkVersion flutter.targetSdkVersion
Update these to the versions shown in the example below:
minSdkVersion 24
targetSdkVersion 32
iOS
For your application to access the microphone on your iPhone or iPad, you'll need to grant permission to this component. Inside your Podfile, locate the line: flutter_additional_ios_build_settings(target) and below this add the following:
target.build_configurations.each do |config|
  config.build_settings['GCC_PREPROCESSOR_DEFINITIONS'] ||= [
    '$(inherited)',
    # dart: PermissionGroup.microphone
    'PERMISSION_MICROPHONE=1',
  ]
end
Then inside your Info.plist, within the <dict></dict> block, add the following two lines:
 <key>NSMicrophoneUsageDescription</key>
    <string>microphone</string>
Add Your UI
The first thing you're going to need is a UI to be displayed on the mobile device; this UI will need three components:
A
Textarea to display all transcribed wording,a "start"
OutlinedButtonto begin the transcription,and a "stop"
OutlinedButtonto stop live transcription.
Open the file lib/main.dart. In the _MyHomePageState class, replace the contents of this class with the build widget example shown below containing these three components:
Widget build(BuildContext context) {
  return MaterialApp(
    home: Scaffold(
      appBar: AppBar(
        title: const Text('Live Transcription with Deepgram'),
      ),
      body: Column(
        mainAxisAlignment: MainAxisAlignment.spaceEvenly,
        children: [
          Row(
            children: <Widget>[
              Expanded(
                flex: 3,
                child: SizedBox(
                  width: 150,
                  child: Text(
                    "This is where your text is output",
                    textAlign: TextAlign.center,
                    overflow: TextOverflow.ellipsis,
                    maxLines: 50,
                    style: const TextStyle(
                        fontWeight: FontWeight.bold, fontSize: 15),
                  ),
                ),
              ),
            ],
          ),
          const SizedBox(height: 20),
          Center(
            child: Row(
              mainAxisAlignment: MainAxisAlignment.center,
              children: <Widget>[
                OutlinedButton(
                  style: ButtonStyle(
                    backgroundColor:
                        MaterialStateProperty.all<Color>(Colors.blue),
                    foregroundColor:
                        MaterialStateProperty.all<Color>(Colors.white),
                  ),
                  onPressed: () {

                  },
                  child: const Text('Start', style: TextStyle(fontSize: 30)),
                ),
                const SizedBox(width: 5),
                OutlinedButton(
                  style: ButtonStyle(
                    backgroundColor:
                        MaterialStateProperty.all<Color>(Colors.red),
                    foregroundColor:
                        MaterialStateProperty.all<Color>(Colors.white),
                  ),
                  onPressed: () {

                  },
                  child: const Text('Stop', style: TextStyle(fontSize: 30)),
                ),
              ],
            ),
          ),
        ],
      ),
    ),
  );
}
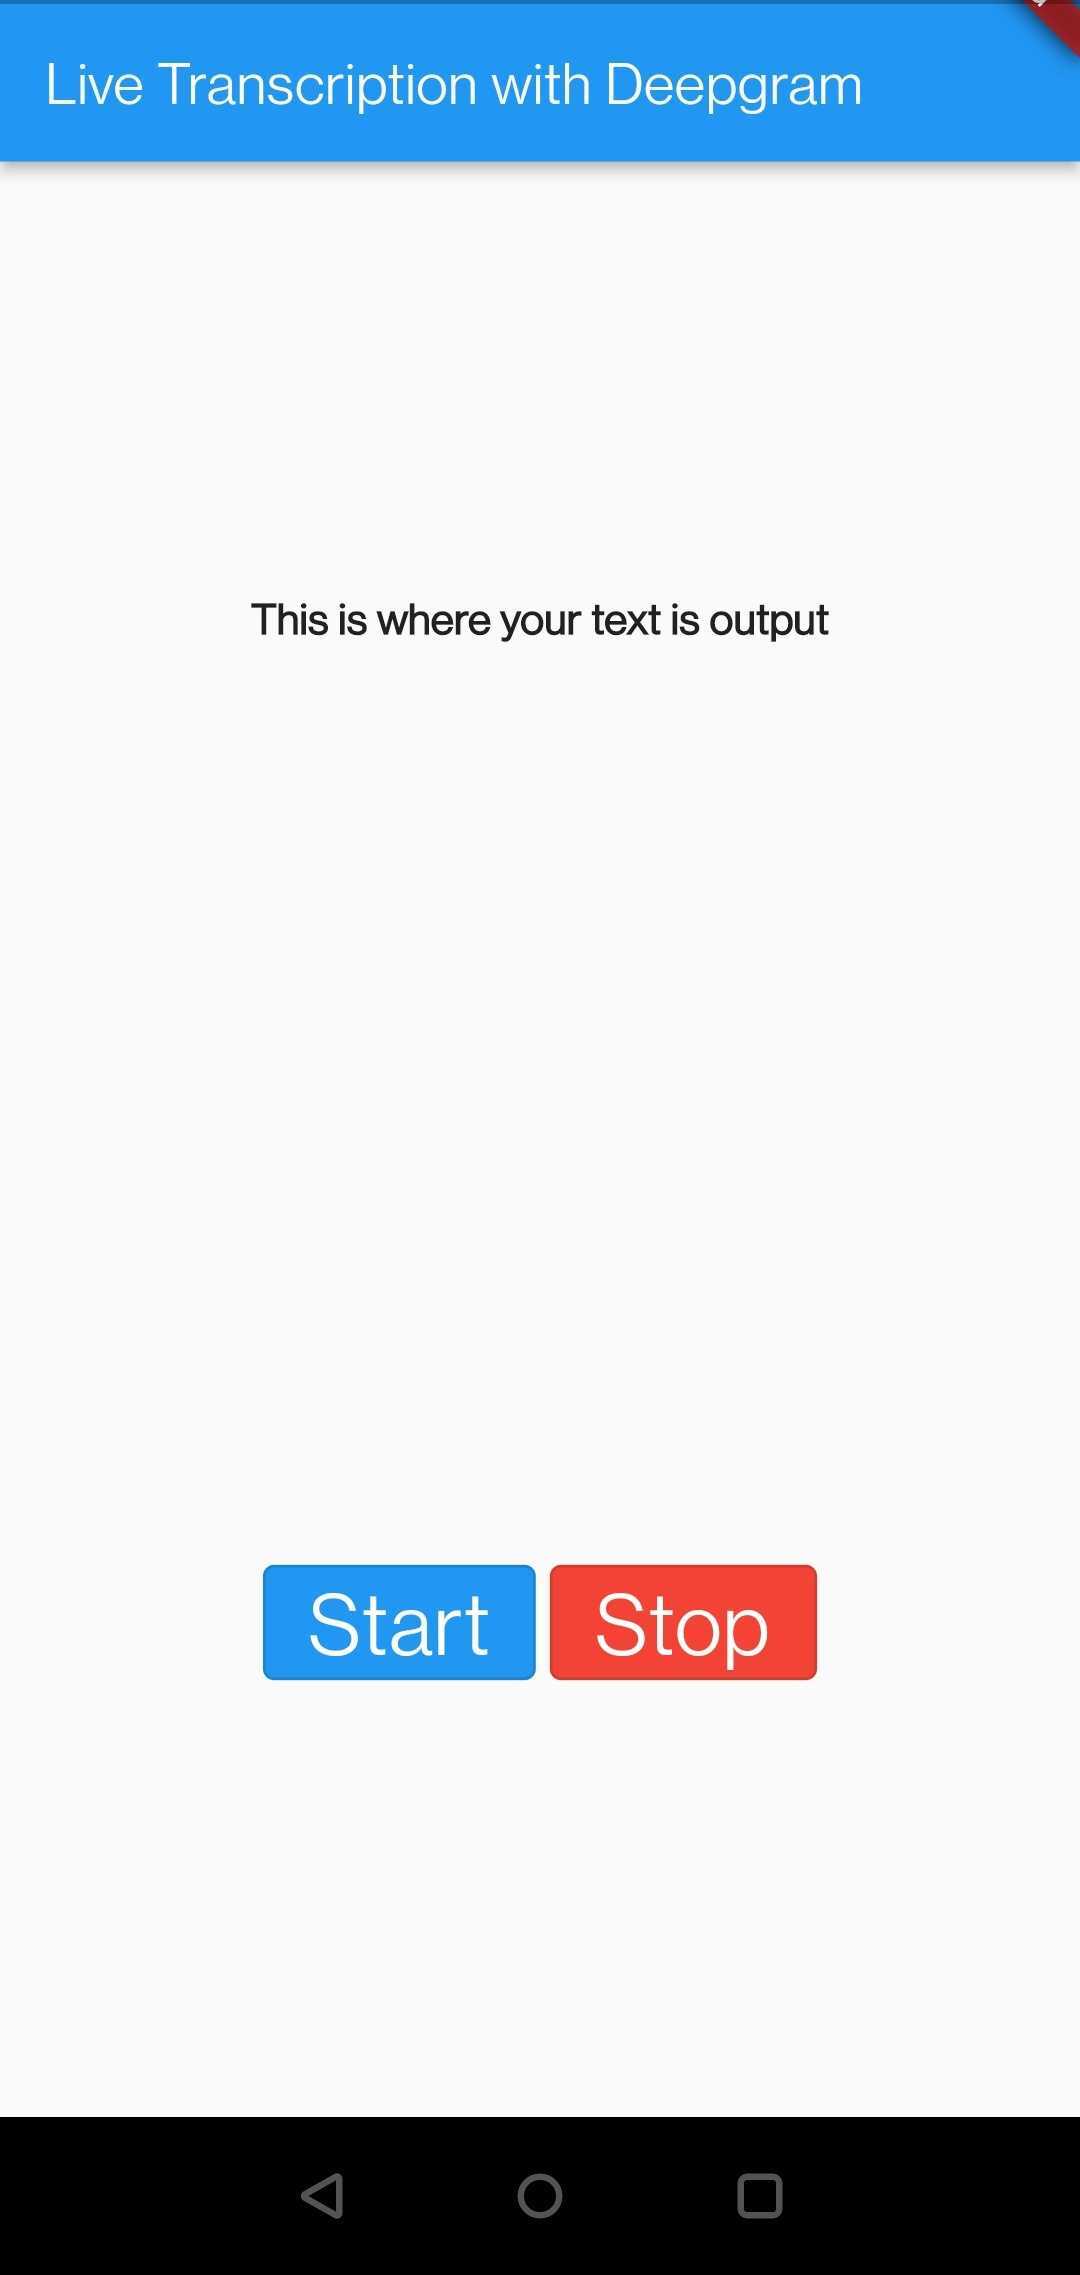
You can test your changes work by opening a new Terminal session and running flutter run. If you have connected your mobile device to your computer, your device will now have the application installed onto it, and you will see a screen similar to what's shown below:

Handling the Text State
Next, your application needs to handle functionality to change the text displayed from a state instead. Find the line: class _MyHomePageState extends State<MyHomePage> { and just below this add the definition of the variable myText with the default text contained:
String myText = "To start transcribing your voice, press start.";In your _MyHomePageState classes Widget build(), find the line: "This is where your text is output". Replace this string with your new variable that will update whenever a response comes back from your transcription requests. So replace this line with myText.
Two new functions are now needed to manipulate this variable. The first one (updateText) updates the text with a predefined piece of text, while the second (resetText) resets the variable's value, clearing the text from the user's screen.
Within the _MyHomePageState class, add these two new functions:
void updateText(newText) {
  setState(() {
    myText = myText + ' ' + newText;
  });
}

void resetText() {
  setState(() {
    myText = '';
  });
}
These functions aren't used at the moment, to rectify this, find the OutlinedButton with the text Start, and populate the empty onPressed: () {} function, with the following:
onPressed: () {
  updateText('');
},
Install the Dependencies
Three third-party libraries are needed throughout this project, these libraries are:
sound_stream, to handle the microphone input, convert it to data ready for streaming over a WebSocket.web_socket_channelprovides functionality to make WebSocket connections which is how your application will communicate with Deepgram servers.permission_handlerhandles the mobile device's permissions, such as accessing the microphone.
In the root directory of your project, open the file that handles the importing of these libraries, pubspec.yaml. Now locate the dependencies: line and below this add the three libraries:
web_socket_channel: 2.1.0
sound_stream: ^0.3.0
permission_handler: ^9.2.0
Open a new Terminal session and navigate to your project directory. Run the following command to install these two libraries:
flutter pub getHandle Audio Input
All of the configuration is now complete, it's time to handle the functionality to transcribe. Back in your main.dart file, at the top add the following libraries that you'll be using in this application (including your three newly installed third party libraries):
import 'dart:async';
import 'dart:convert';
import 'package:sound_stream/sound_stream.dart';
import 'package:web_socket_channel/io.dart';
import 'package:permission_handler/permission_handler.dart';
Below these imports, add two constants that you'll be calling in this application:
const serverUrl =
    'wss://api.deepgram.com/v1/listen?encoding=linear16&sample_rate=16000&language=en-GB';
const apiKey = '<your Deepgram API key>';
These two constants are:
serverUrlto define the URL the WebSocket will connect to (Deepgram's API server in this instance). For more information on the parameters available to you, please check the API referenceapiKey, your Deepgram API key to authenticate when making the requests,
Note: the
apiKeyis hardcoded into this application solely for tutorial purposes. It is not good security practice to store API keys in mobile applications, so please be aware of this when building your mobile application.
With this tutorial, you'll need to request permission to access your microphone before attempting to transcribe your messaging. You'll do this when the app has loaded (it will only request permission once), add the following initState() function, which also calls onLayoutDone when the layout has loaded on the screen:
@override
void initState() {
  super.initState();

  WidgetsBinding.instance?.addPostFrameCallback(onLayoutDone);
}
Now below this initState() function add a new one called onLayoutDone, which is where your app will request permission:
void onLayoutDone(Duration timeStamp) async {
  await Permission.microphone.request();
  setState(() {});
}
It's now time to introduce the WebSocket and sound_stream to the project. First, you'll need to initiate the objects you'll be using that records sound and the web socket itself. Below your line String myText ... add the following:
final RecorderStream _recorder = RecorderStream();

late StreamSubscription _recorderStatus;
late StreamSubscription _audioStream;

late IOWebSocketChannel channel;
When the application closes, it's good practice to close any long running connections, whether that be with components in your device or over the Internet. So, create the dispose() function, and within this function cancel all audio handling, close the websocket channel:
@override
void dispose() {
  _recorderStatus.cancel();
  _audioStream.cancel();
  channel.sink.close();

  super.dispose();
}
Next, you need to initialize your web socket by providing your serverUrl and your apiKey. You'll also need to receive the audio stream from your microphone, convert it into binary data, and then send it over the WebSocket for Deepgram's API to transcribe. Because this is live transcription, the connection will remain open until you request it be closed. Add your new _initStream() function to your _MyHomePageState class.
Future<void> _initStream() async {
  channel = IOWebSocketChannel.connect(Uri.parse(serverUrl),
      headers: {'Authorization': 'Token $apiKey'});

  channel.stream.listen((event) async {
    final parsedJson = jsonDecode(event);

    updateText(parsedJson['channel']['alternatives'][0]['transcript']);
  });

  _audioStream = _recorder.audioStream.listen((data) {
    channel.sink.add(data);
  });

  _recorderStatus = _recorder.status.listen((status) {
    if (mounted) {
      setState(() {});
    }
  });

  await Future.wait([
    _recorder.initialize(),
  ]);
}
This functionality doesn't yet do anything; add a new _startRecord function, and within this, add the call to _initStream(). Calling this function tells sound_stream to switch on your microphone for streaming.
void _startRecord() async {
  resetText();
  _initStream();

  await _recorder.start();

  setState(() {});
}
Also add the following _stopRecord() function to stop the _recorder
void _stopRecord() async {
  await _recorder.stop();

  setState(() {});
}
In the first OutlinedButton, with the text Start, find the onPressed: () {} function and add the following to call your _startRecord function:
onPressed: () {
  updateText('');

  _startRecord();
},
In the next OutlinedButton, the text is Stop, find the onPressed: () {} function and add the following to call your _stopRecord function:
onPressed: () {
  _stopRecord();
},
Your application is ready to test once you have added functionality to start and stop the transcribing. If you go back to your Terminal and run flutter run, you'll see the application refresh on your mobile device. You may be prompted to give microphone access, so be sure to approve this. You can now start transcribing!

The final code for this tutorial is available on GitHub, and if you have any questions, please feel free to reach out to the Deepgram team on Twitter - @DeepgramDevs.
If you have any feedback about this post, or anything else around Deepgram, we'd love to hear from you. Please let us know in our GitHub discussions .
More with these tags:
Share your feedback
Was this article useful or interesting to you?
Thank you!
We appreciate your response.


